Wireless LED Subaru Door Sill Lights for WRX & More
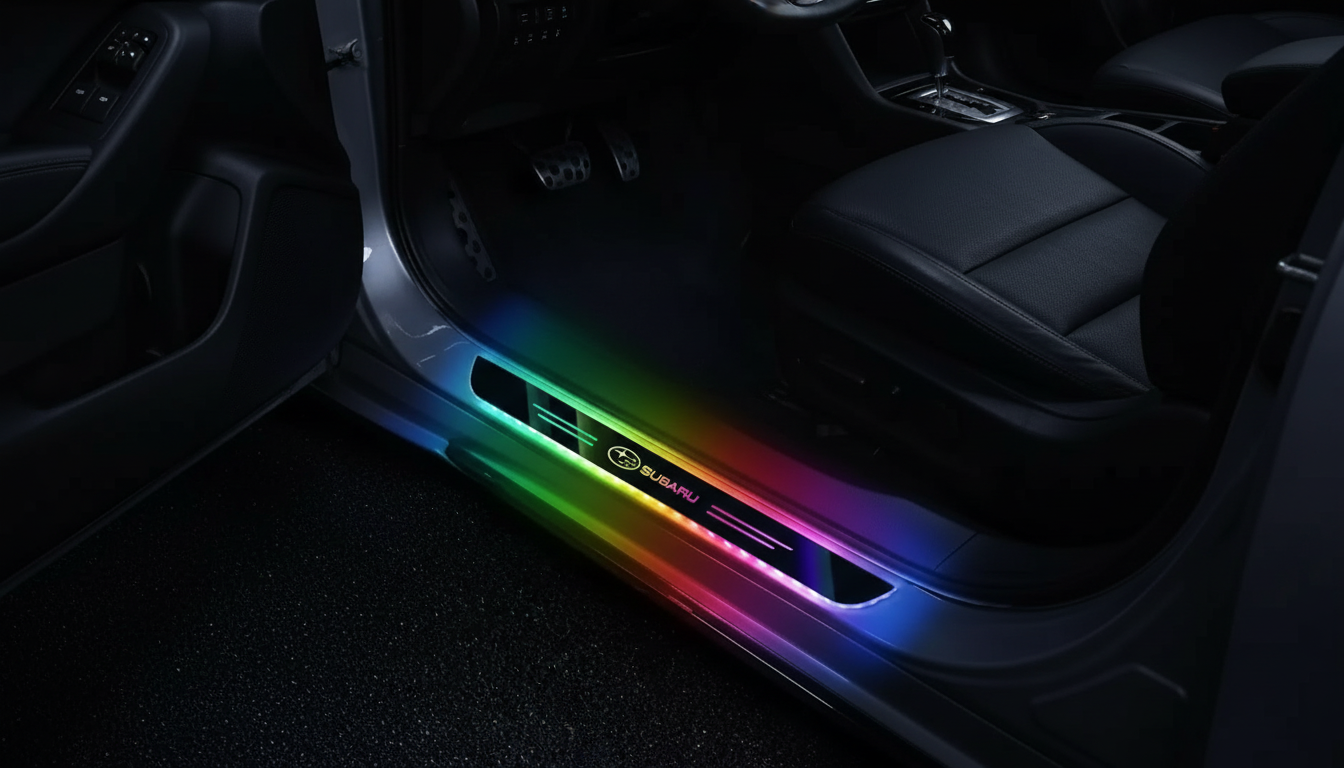
Subaru LED Wireless Welcome Door Sill Lights: A Small Upgrade You’ll Notice Every Day
Wireless LED welcome door sill lights add a premium “arrival” moment while helping protect scuff-prone door sills from shoes, salt, and daily wear. Designed for popular Subaru models like the WRX, Forester, and Outback, these illuminated sills offer a clean look without running wires through the cabin. The result is a subtle upgrade that improves visibility at night, elevates cabin aesthetics, and keeps entry points looking newer for longer.
What Welcome Door Sill Lights Do (Beyond Looks)
Door sills take constant abuse—especially if the vehicle sees commutes, school drop-offs, weekend trailheads, or winter road salt. Illuminated sill plates aren’t just cosmetic; they can make daily entry cleaner, safer, and easier to maintain.
- Illuminated entry guidance: Adds soft light at the threshold when a door opens, helping you see footing in low light.
- Scuff and scratch protection: The sill cover acts as a barrier against shoe rub, grit, and winter grime.
- Cabin detail upgrade: Lighting plus trim brings a higher-end look similar to factory illuminated accents.
- Easier to keep clean: A protective plate wipes down faster than textured painted metal in tight corners.
- Daily-use durability focus: Because sills get contacted constantly, protecting them helps preserve resale presentation.
| Feature | Wireless LED Sill Lights | Non-Illuminated Sill Protectors |
|---|---|---|
| Night visibility at entry | Yes (adds light when door opens) | No (relies on ambient light) |
| Installation complexity | Typically simpler than wired kits; placement and pairing/activation required | Usually peel-and-stick placement only |
| Cabin styling impact | High (lighted accent) | Moderate (protective trim) |
| Maintenance | Wipe clean; keep sensors/contacts dry if applicable | Wipe clean; minimal considerations |
| Best for | Drivers who want both protection and a premium welcome effect | Drivers focused on protection only |
Fitment and Compatibility for WRX, Forester, and Outback
Fitment is where sill upgrades go from “looks great in photos” to “feels factory every time the door opens.” Subaru door openings can vary by model year and trim, and front sills often differ from rear sills in length and curvature.
- Model matching: Confirm sill length and curvature match the exact Subaru door opening geometry (front vs. rear can differ).
- Trim considerations: Check whether factory plastic step trim, existing protectors, or thick weather mats interfere with placement.
- Door count and set coverage: Verify whether the kit is for two front doors, all four doors, or a configurable mix.
- Weather and usage profile: In wet or snowy climates, snug fitment helps reduce edge lifting and moisture intrusion.
- Finish alignment: Choose a look that complements interior accents—dark trim, metallic accents, or logo styling.
When in doubt, cross-check your vehicle details using Subaru’s official resources and documentation for model specifics: Subaru Owner’s Manuals and Vehicle Resources.
Wireless Operation: What to Expect Day to Day
Wireless welcome sills are popular because they avoid the hassle of routing power through the cabin. Instead, the system typically relies on internal power and a sensor-style trigger to illuminate when the door opens.
- Automatic activation: Many kits illuminate on door-open using a sensor or magnetic trigger concept depending on design.
- Brightness and visibility: A well-designed kit is easy to see at night without feeling harsh or distracting.
- Power management: Runtime depends on activation frequency, brightness, and standby draw, since the power source is internal.
- Consistency: Alignment matters—misplaced sensor components can cause intermittent activation or delays.
- Cold-weather behavior: Extreme cold can reduce battery performance; keeping surfaces clean and properly mounted helps maintain reliability.
Installation Notes for a Clean, Long-Lasting Fit
Even the best-looking sill plates can disappoint if edges lift or the alignment looks uneven. The key is treating installation like a detailing step—clean, dry, and patient.
- Surface prep is the difference-maker: Clean thoroughly to remove oils and residues so adhesive bonds properly.
- Test fit before sticking: Position each piece, then open/close doors to confirm clearance and even spacing.
- Temperature matters: Adhesives bond best in moderate temperatures; if it’s cold, gently warm the area and backing.
- Pressure and cure time: Apply firm pressure along the full length and allow time before heavy use or wet exposure.
- Avoid stacking over old protectors: Removing older plates prevents uneven edges and improves adhesion.
For general guidance on tape and adhesion best practices, consult a manufacturer reference such as 3M automotive tape and adhesion resources.
Care, Cleaning, and Durability
Once installed, sill plates are easy to live with—especially compared to repairing scuffs in painted metal. A quick routine keeps them looking crisp.
Featured Product Option
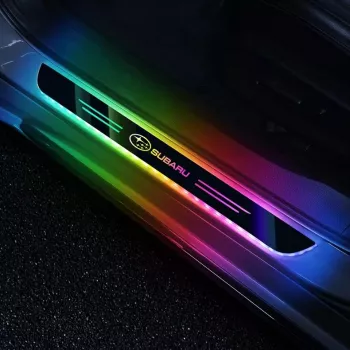
Subaru LED Wireless Welcome Door Sill Lights – For WRX, Forester, Outback
More In-Stock Finds
- Calvin Klein Retro Square Sunglasses with Dark Lenses
- IPL Eye Beauty Device with Three-Color Light & Vibration
- Cozy Cartoon Cat Cave Bed for Kittens
FAQ
Do wireless welcome door sill lights require wiring into the car?
Wireless kits typically avoid tapping into vehicle power, since they rely on internal power and a sensor-based activation method. Installation usually focuses on mounting, alignment, and ensuring the trigger components are positioned correctly rather than running cables through the cabin.
Will these fit both front and rear doors on a WRX, Forester, or Outback?
Fitment depends on the specific kit configuration and whether it’s designed for two doors or four. Confirm coverage in the package details and verify sill length/shape for your exact model and the door position (front vs. rear) before installing.
How can lifting edges or poor adhesion be prevented?
Start with thorough cleaning and degreasing, apply on a completely dry surface, and install in moderate temperatures for the strongest bond. Use firm pressure along the full length, allow cure time, and avoid mounting over older protectors or contaminated/uneven trim.










Leave a comment